Is one of your goals to improve your diet?
What you eat for breakfast can set you up for success for the rest of the day. I like to start my day with eggs and veggies. I make one of these egg casseroles about every other week, then portion it and freeze a couple of servings, whatever I’m not going to eat that week.

This is a great way to use up leftover meat or veggies and will get you well on your way to meeting your protein goals of 1-2 grams of protein per lb. of body weight per day. (I shoot for 20-30 grams of protein per meal).
This recipe is flexible, you can sub bacon or any cooked meat for the sausage. For added protein, blend a cup of cottage cheese until its smooth, and use that instead of sour cream.
Try this and let me know what you think!
Sausage and Egg Breakfast Casserole
Ingredients:
- 1 tablespoon butter
- 4 small potatoes, peeled and sliced thin
- 1 lb pork sausage
- 1 small bell pepper, chopped
- 4 green onions, chopped
- 4 cups of fresh spinach
- 12 eggs
- 1 cup sour cream
- 1/4 cup milk
- 1 teaspoon salt
- 1/2 teaspoon pepper
- 1 teaspoon garlic powder
- 2 cups shredded cheddar cheese
Directions:
- Preheat oven to 350 degrees.
- Grease a 9×13 baking pan with butter.
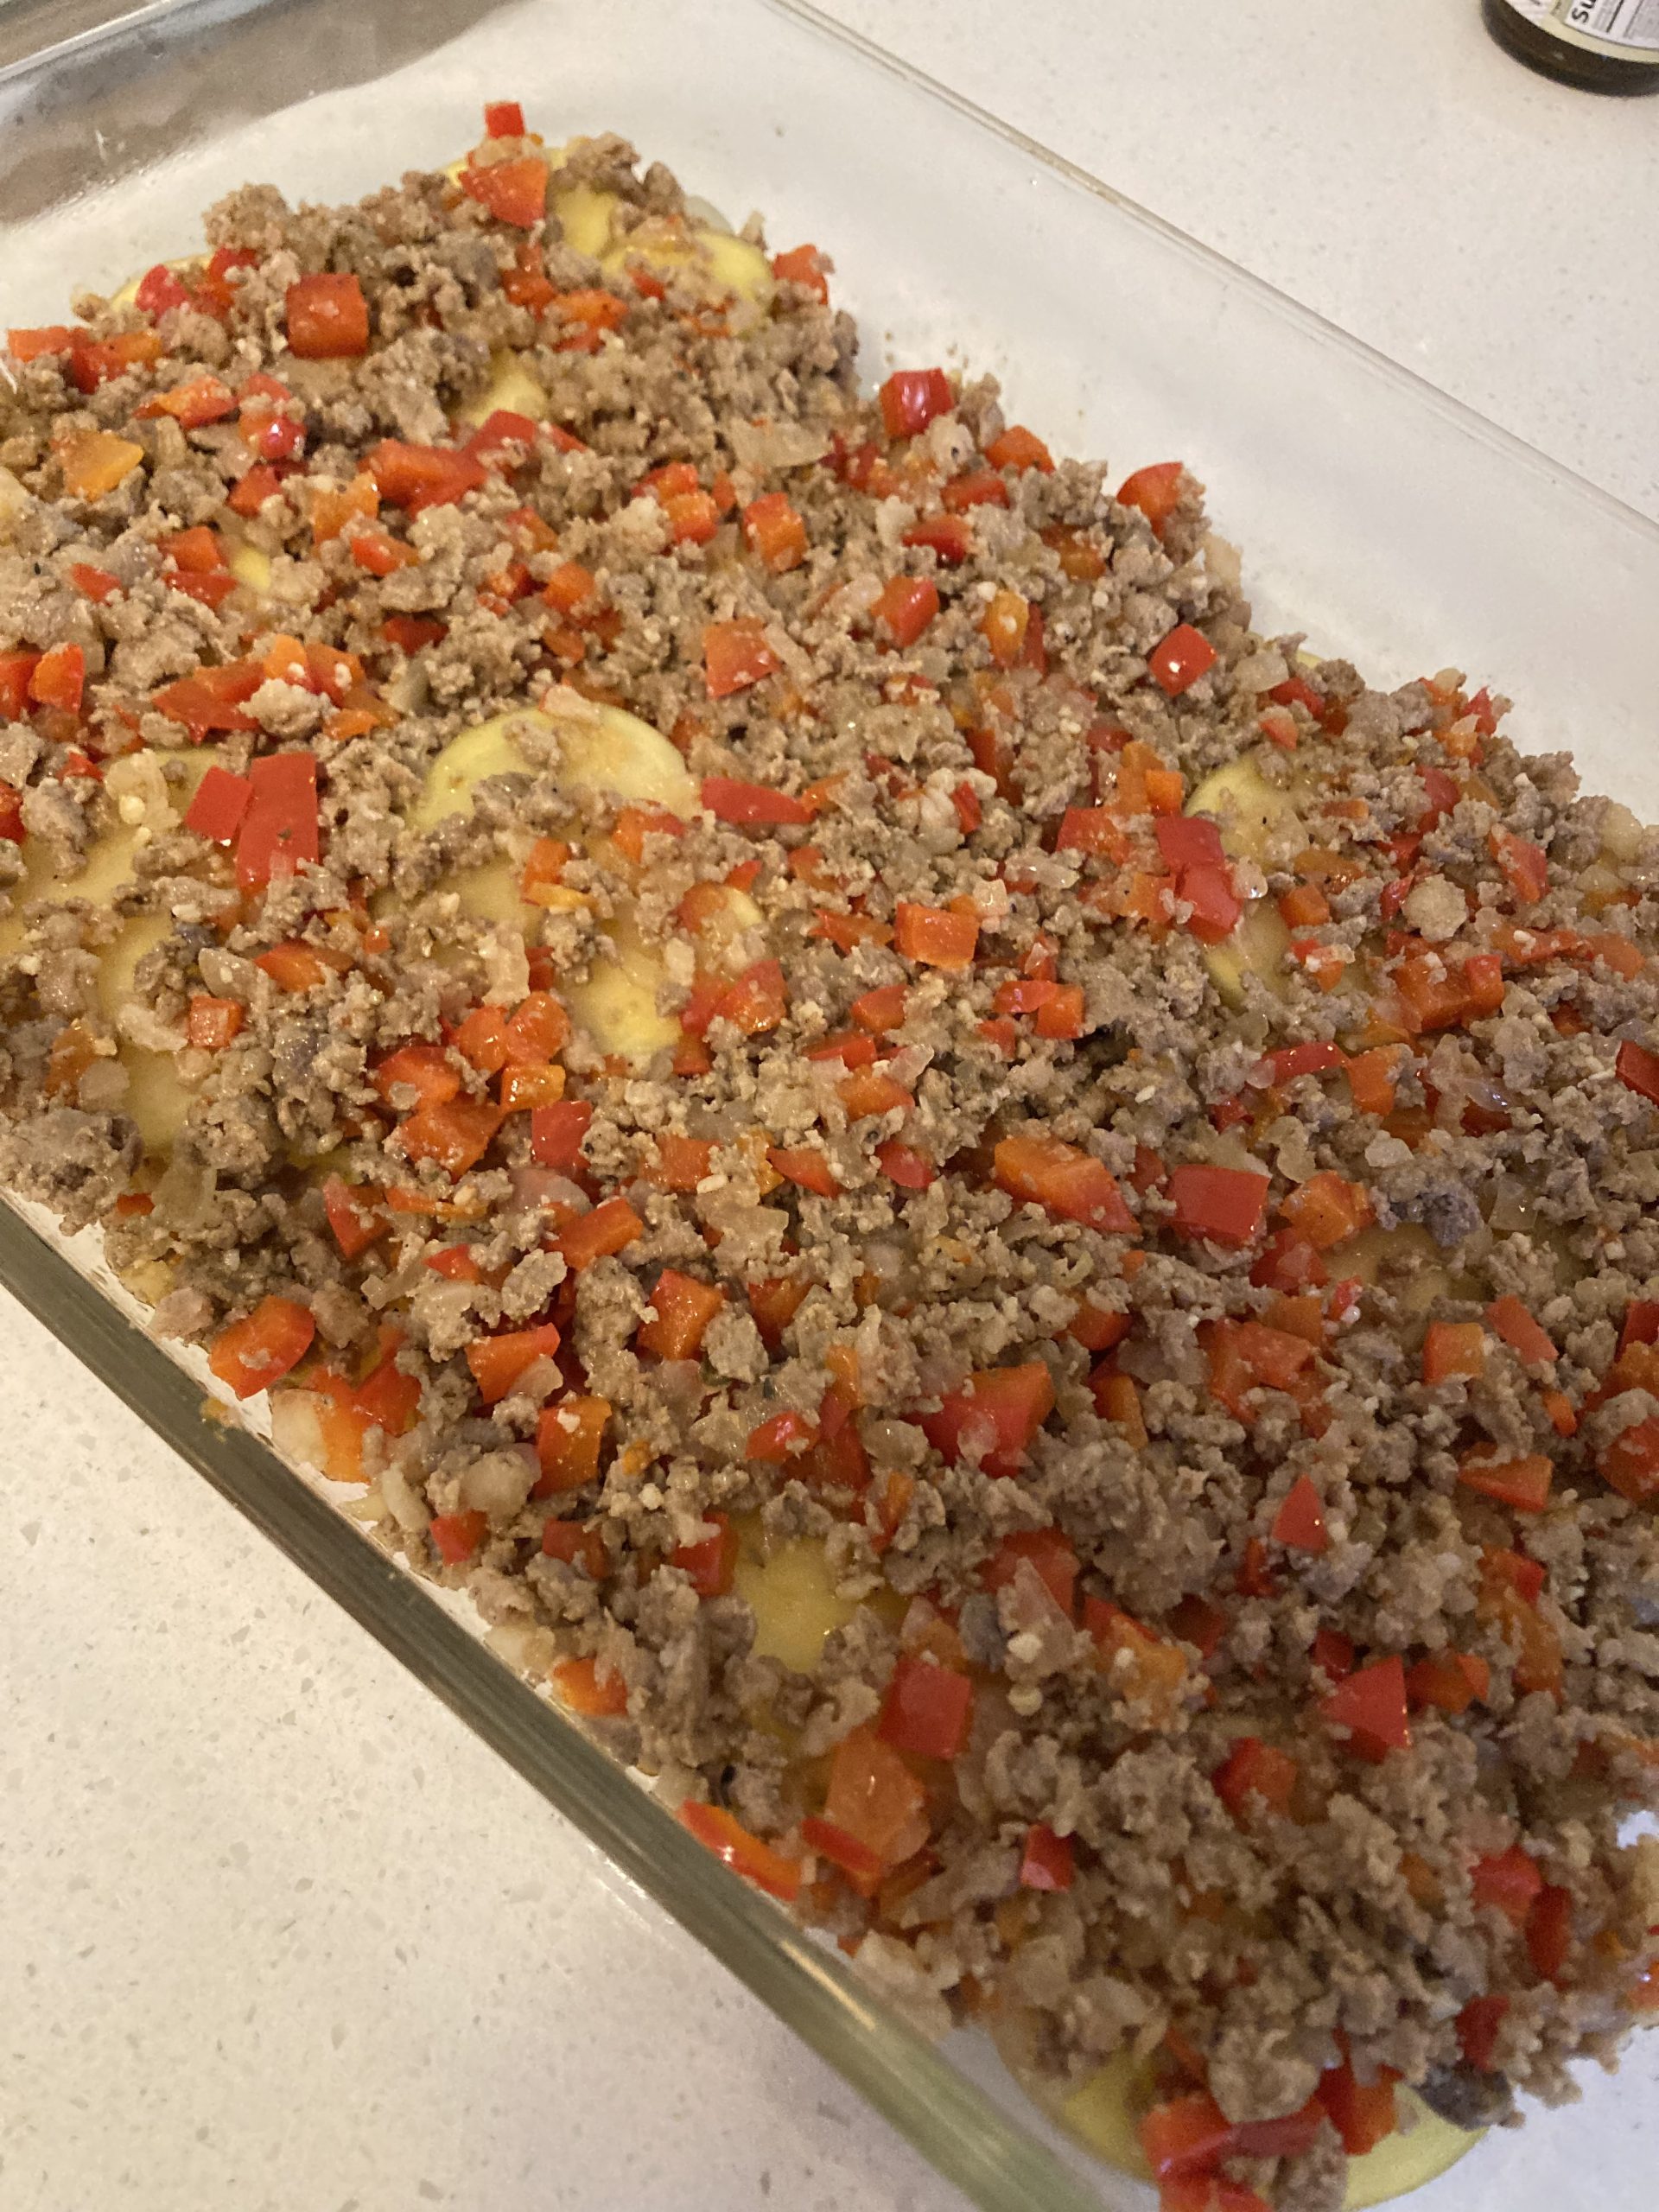
- Layer potatoes on the bottom of the pan (you should have enough to just cover the bottom of the dish).
- In a large frying pan, cook the sausage on medium heat until it’s browned, breaking it up as it cooks. Add the peppers and onions and cook for another minute. Toss in the spinach and stir it around once or twice to wilt it (it will cook down a little more in the casserole).
- Spread the sausage mixture on top of the potatoes.
- In a large bowl, beat eggs with sour cream, milk, salt, pepper, garlic powder, and cheese until combined.
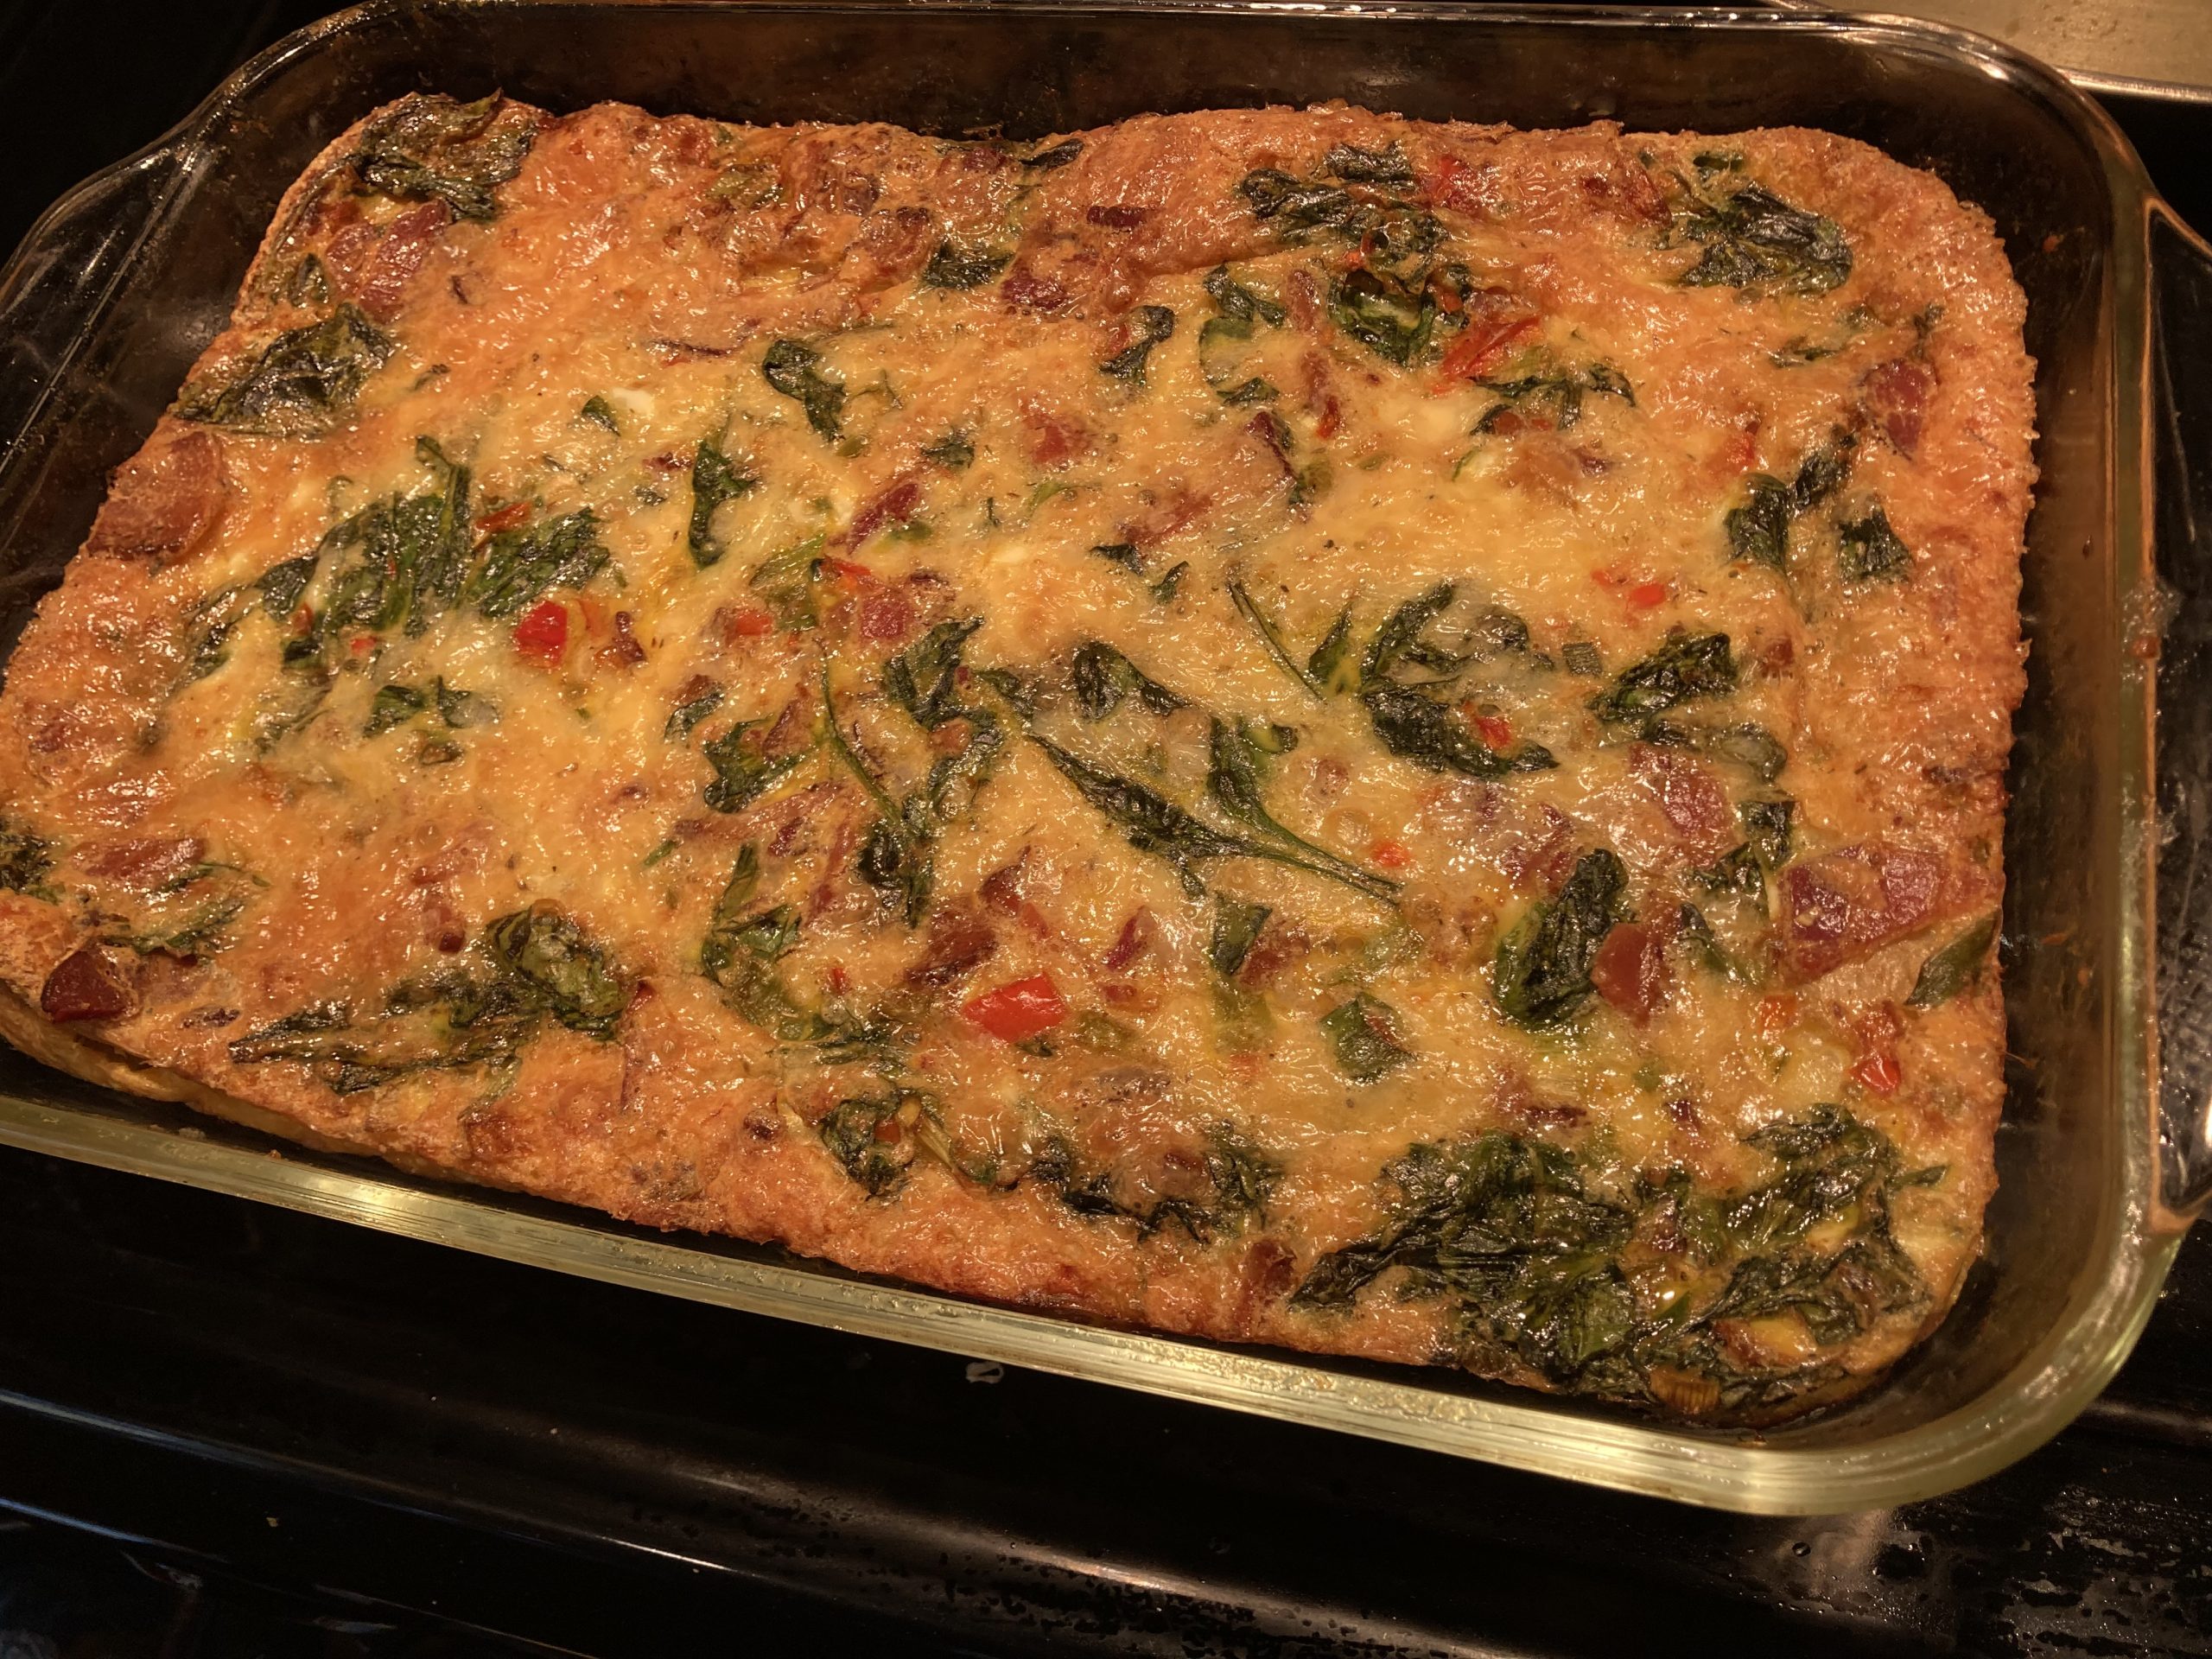
- Pour egg mixture over sausage.
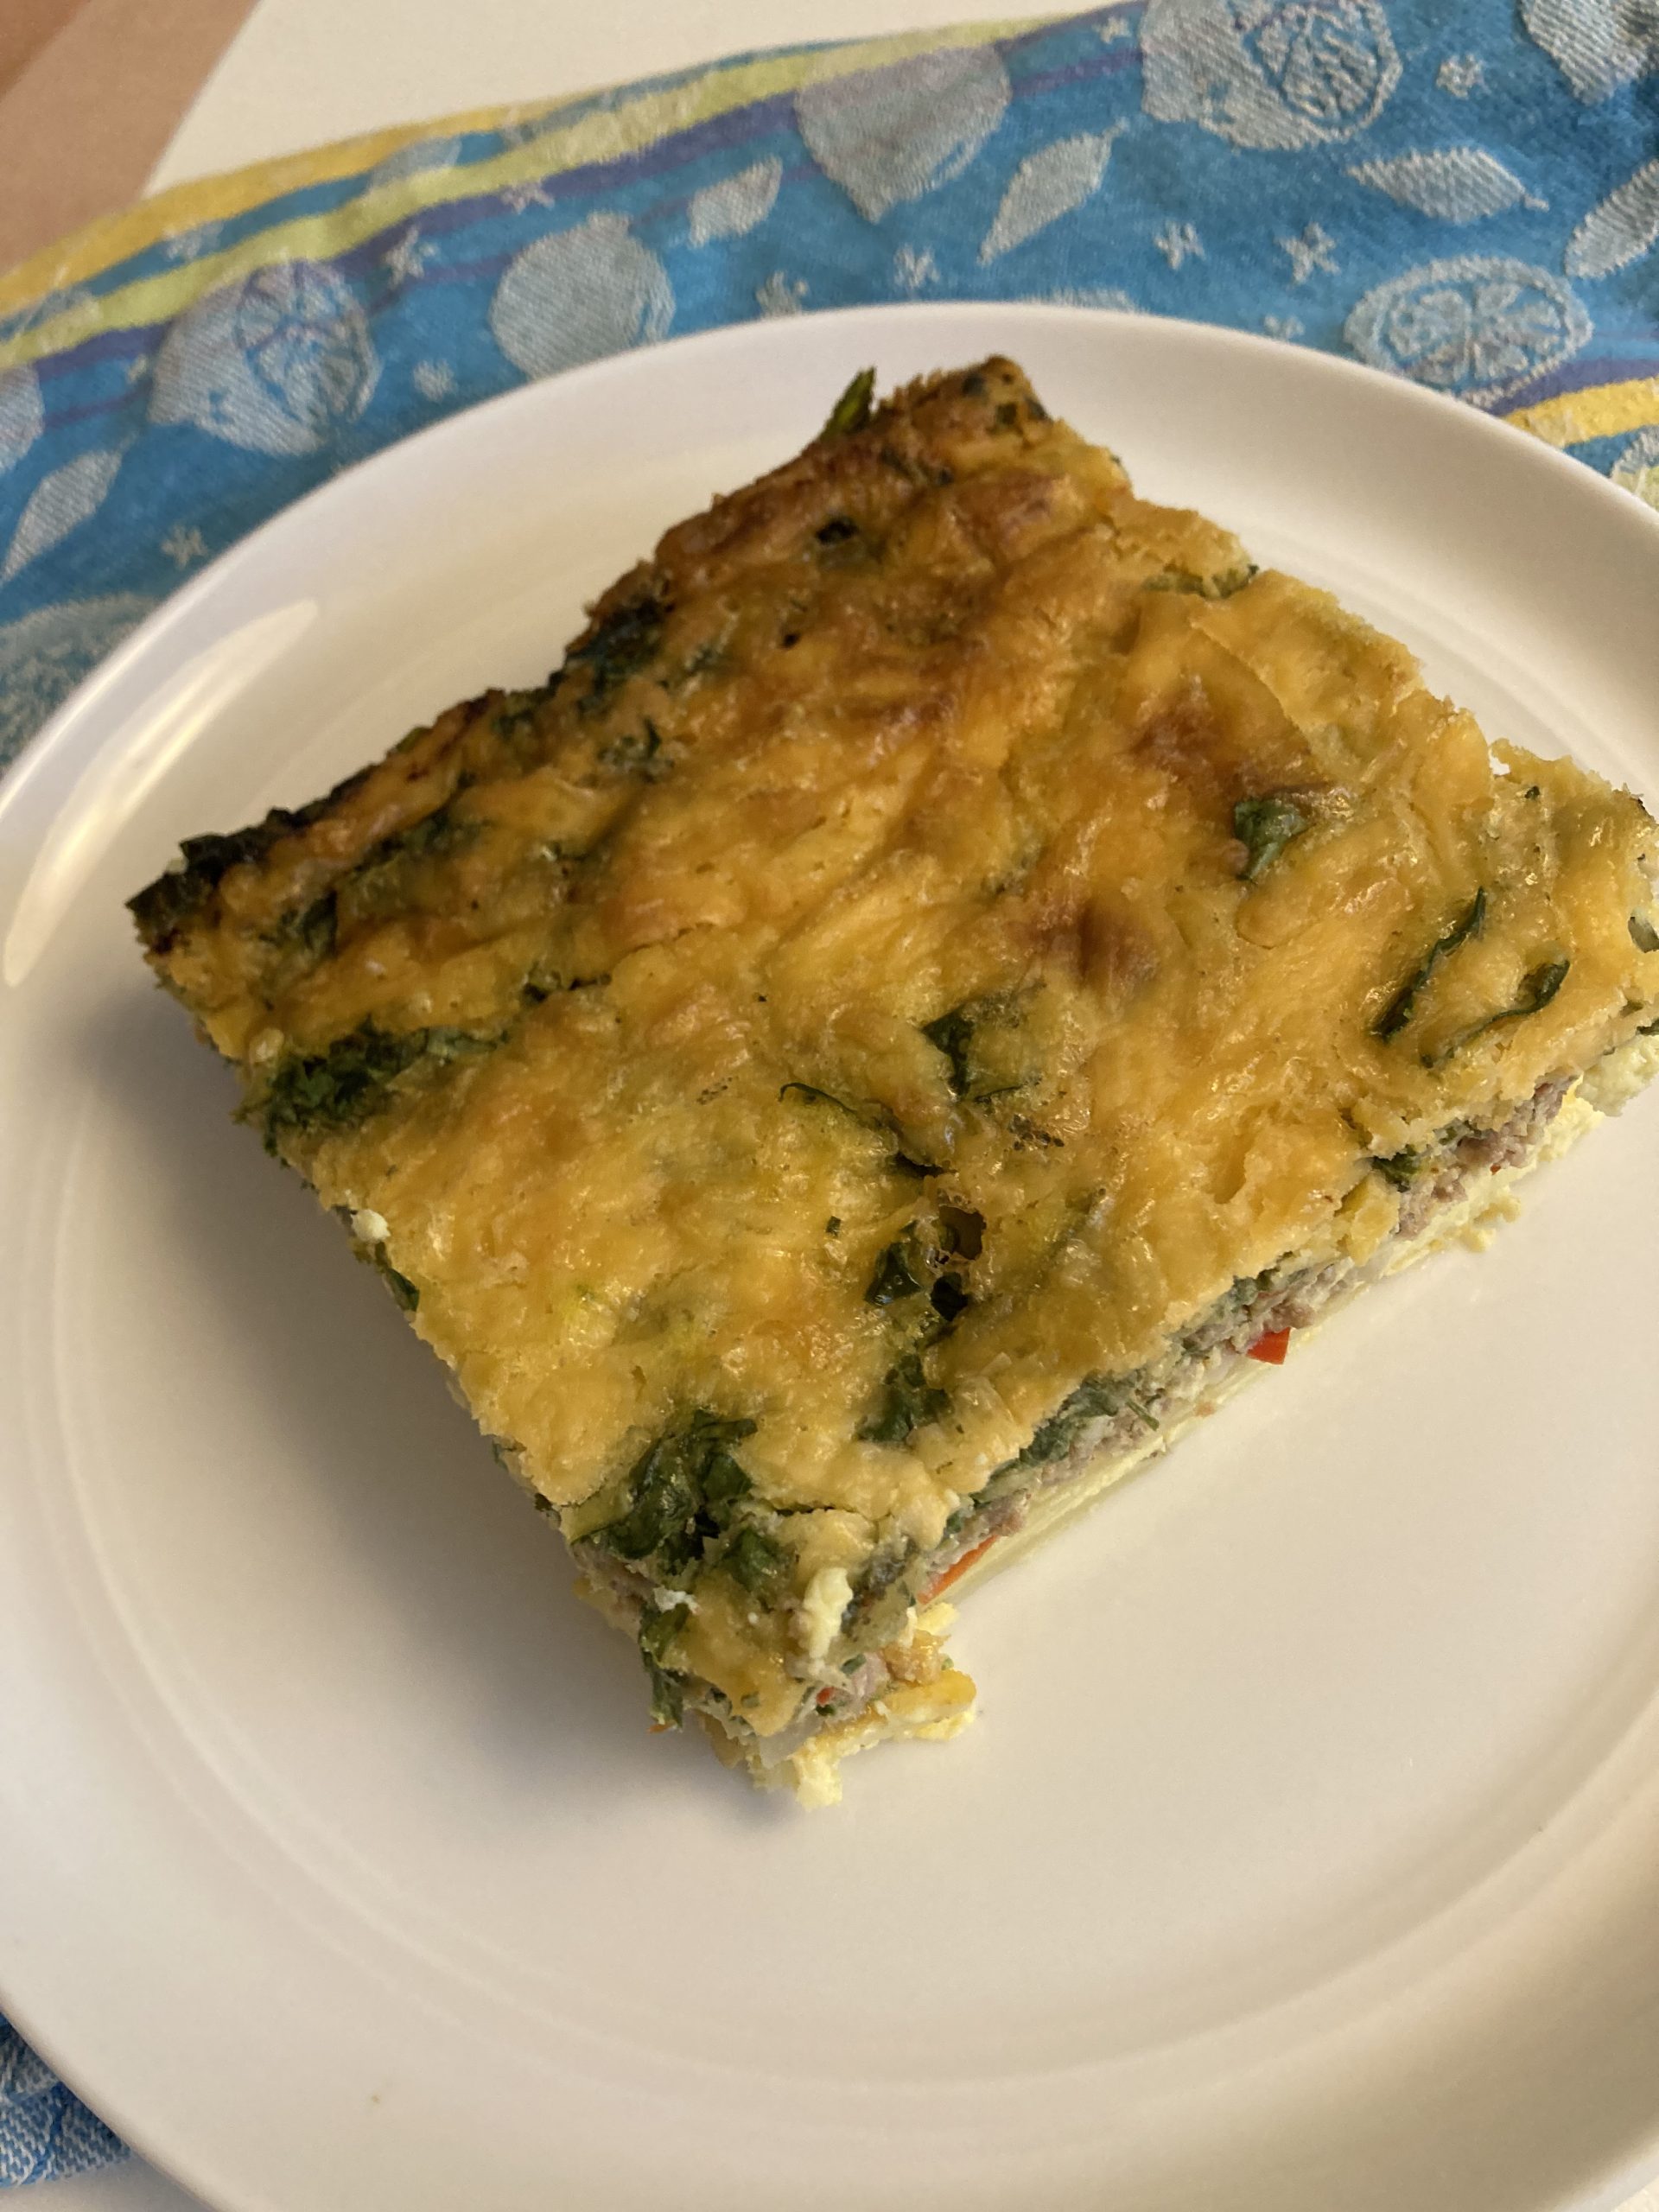
- Bake for 35-45 minutes, until the eggs are just set and no longer jiggle.
Anne McCranie is a Vancouver, Washington based personal trainer and licensed massage therapist. She offers this recipe to tickle your tastebuds. Please see your medical professional for specific dietary advice.
Read more about protein guidelines for women over 50 here.